You can also view the video guide on our youtube channel:
https://youtu.be/eA12P9CeKB8
https://youtu.be/T0FP-QIwTLc
https://youtu.be/vvQxybvFdxI
Step 1: Install & Run Bloxstaking App
Download the Bloxstaking app and follow the ‘regular’ installation flow.
If you already have it running, please make sure to upgrade to the latest version.
If you’re already running a mainnet or testnet validator using Bloxstaking, please reach out to us.
You’ll have to delete your account and start over.
Please note! Although the process is rather straightforward, you’ll have to take your keyvault / validators offline while you complete the set-up. So before proceeding, make sure you are confident with the process and if you don’t than reach out to our support or dev teams on Discord.
If you’re just getting started, follow the process step by step.
Step 2: Generate Your Key Store File
This step takes place outside of the Bloxstaking app so make sure to follow the instructions.
There are a few guides to follow, we recommend using the official ETH Launchpad Validator Setup process. TestNet or MainNet.
You can also check out this guide.
This step is security sensitive, so make sure to follow the instructions carefully.
More importantly: keep your passwords! You’ll need them later
With the keystore files in hand, you can now open your Bloxstaking app and complete the installation and set-up process.
Follow the instructions as they appear on the installation guide until you reach the ‘seed or Keystore stage’.
Step 3: Seed or Keystore
In the Bloxstaking app, once you reach the ‘Validator Setup’ stage, and you are presented with the Seed or keystore import, click on ‘Keystore file’ (Keystore file replaces the seed for the process).
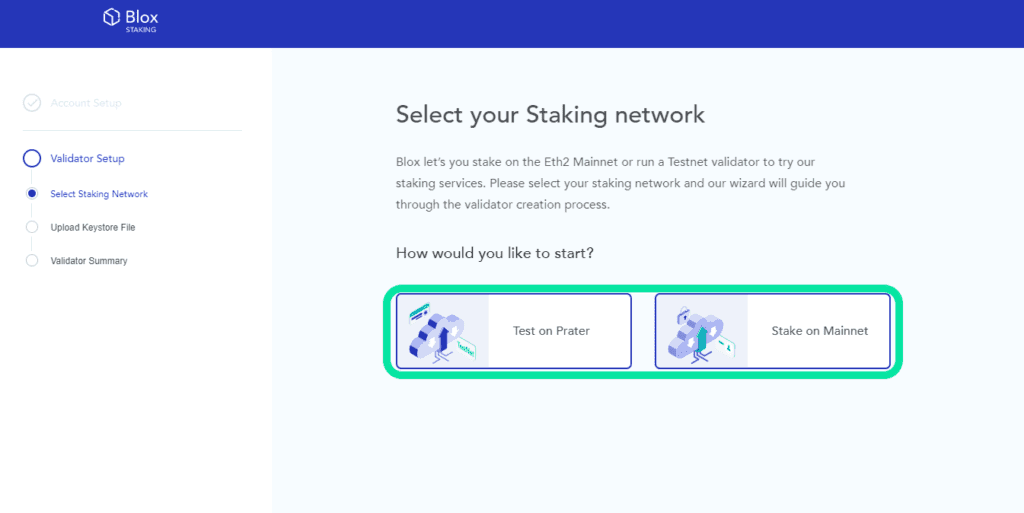
In the next step, choose between Testnet and Mainnet.
If you’re still testing, make sure that you select the ‘testnet’ option during Step 2, where you generate your keystore file.
Otherwise, just click on ‘Stake on Mainnet’.
Step 4: Drag and drop your Keystore files
The next step is a little sensitive so make sure that you’re not adding unnecessary or unsupported keystore files, otherwise you won’t be able to complete the step and proceed with the installation.
Click in ‘drag and drop’ and select the keystore files you’d like to import.
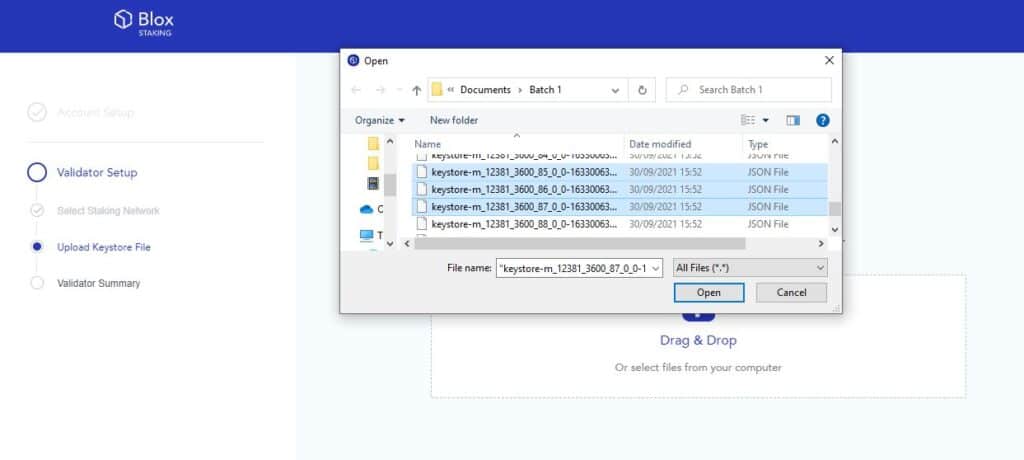
Keep in mind that we support up to 100 keystore files per import, which is also the recommended number per keyvault.
More importantly, once added in, you’ll be required to provide a password – this is the same password you selected during step 2 – your keystore generation step.
Step 5: Validator Summary
If you’ve reached this step and all your validators are of the same status (either Deposited or Not) means that your keystore files you generated were verified and imported to your Blox setup.
The Validator summary displays all the validators imported in the previous step and their status – whether they contain deposited ETH in the relevant address, or not.
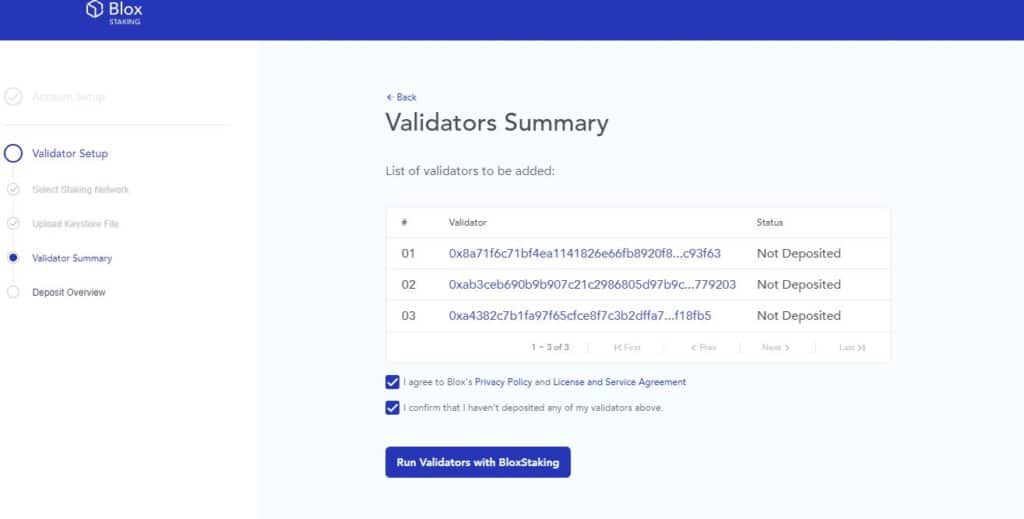
‘Deposited’ or ‘Not Deposited’
Please keep in mind that you CANNOT import both Deposited and Not Deposited Keystore files in the same attempt. It’s either ALL deposited or NONE of them.
If you have both deposited and non-deposited files, make sure to import in different batches.
Please check carefully before ticking off both disclaimers at the bottom of the page.
If you’re ready to continue, click on ‘Run Validators with Bloxstaking’
Step 6: Deposit Overview
If you’ve already made a deposit you can skip this stage.
If you haven’t made a deposit yet, please continue with the guide.
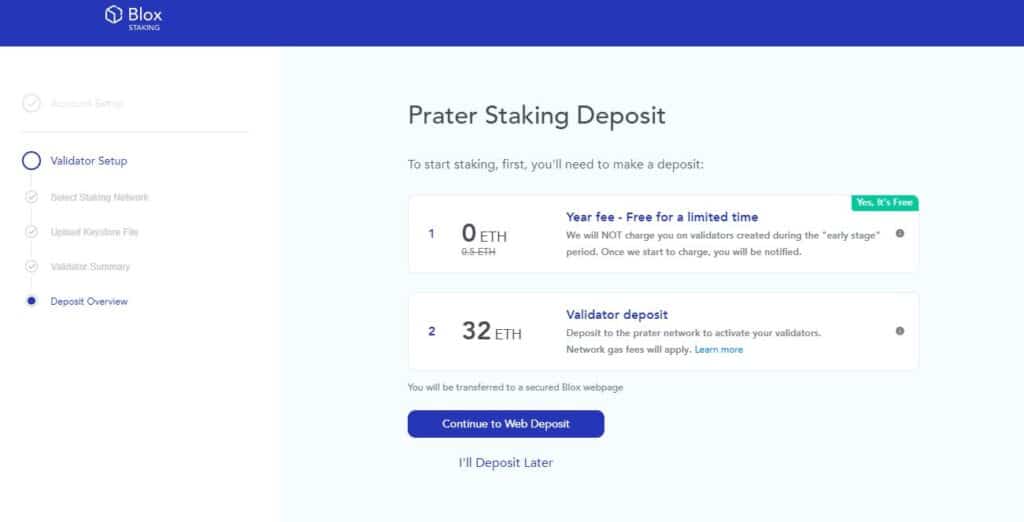
At this stage you’ll be asked to deposit ETH (or Goerli) to your validators.
Be advised that once you click on ‘Continue to Web Deposit’ you’ll be redirected to the web deposit flow – where you’ll be asked to provide your ‘deposit data file’.
No need to create or generate anything new, this file will become available to you when you generate your keystore files during step 2.
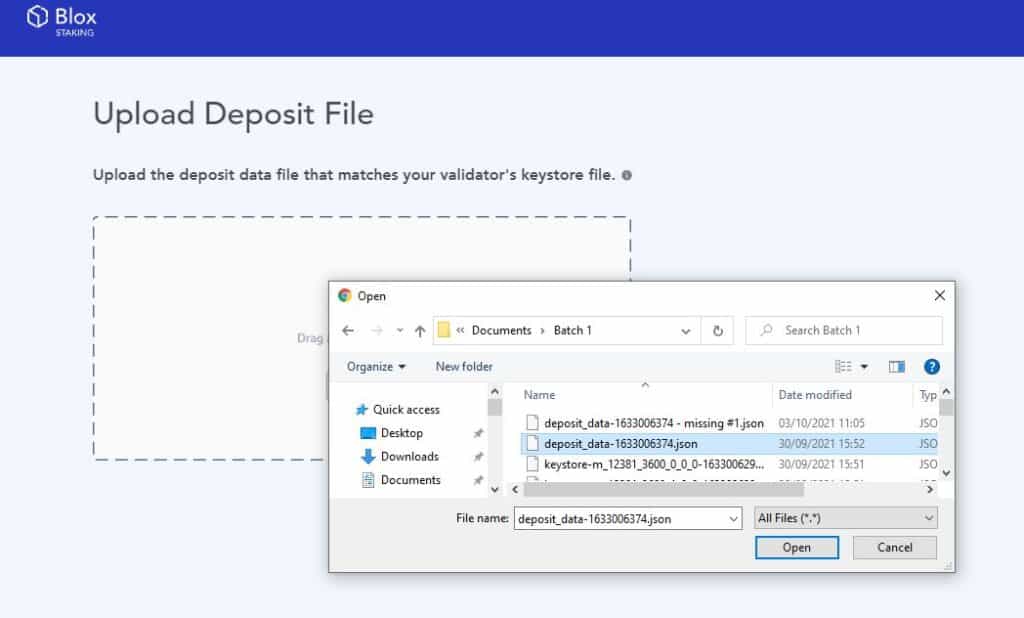
Alongside all the keystore files you generated, you’ll be able to find a file called deposit_data-[Serial Number].json select it and continue.
If you attempt to upload a different file or different format, it won’t allow you to continue, so please be mindful you select the correct .json file with the corresponding [Serial Number]
Step 7: Staking Deposit
Now you’ll be asked to choose how you’d like to deposit your ETH.
You’re presented with 3 options – Metamask, Ledger and Trezor.
Choose the one you prefer.
Please keep in mind that both Ledger and Trezor options would require a Metamask bridge to complete.
If you’re faced with any question, please make sure to reach out to us.
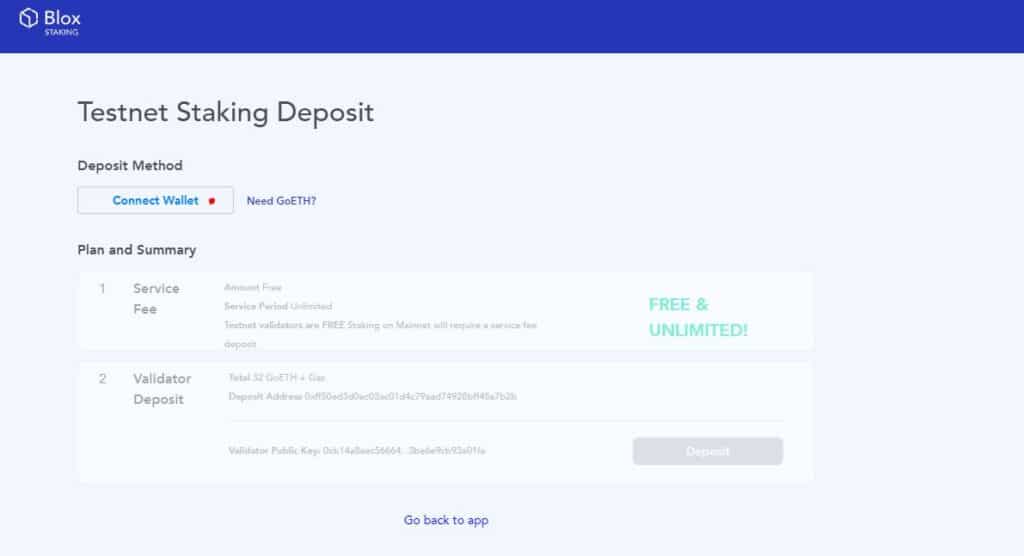
From that point on, select the account / address containing the ETH you’d like to deposit.
When you’re ready, click on ‘Next’.
Once selected the account, and clicked on ‘Connect’ you’ll be able to see a pop-up (bottom right corner) confirming the connection.
Back on the deposit page, you’ll be presented with the option to make ALL deposits at once, or deposit one-by-one into each imported validator. Choose the path you prefer.
Lastly, you’ll have to confirm the transaction on your Metamask interface. The interface will show you an estimate of the cost per transaction of in total (depending on the number of validators you selected.
When you’re ready click on ‘Confirm’
Step 7: Validator Set-up Complete
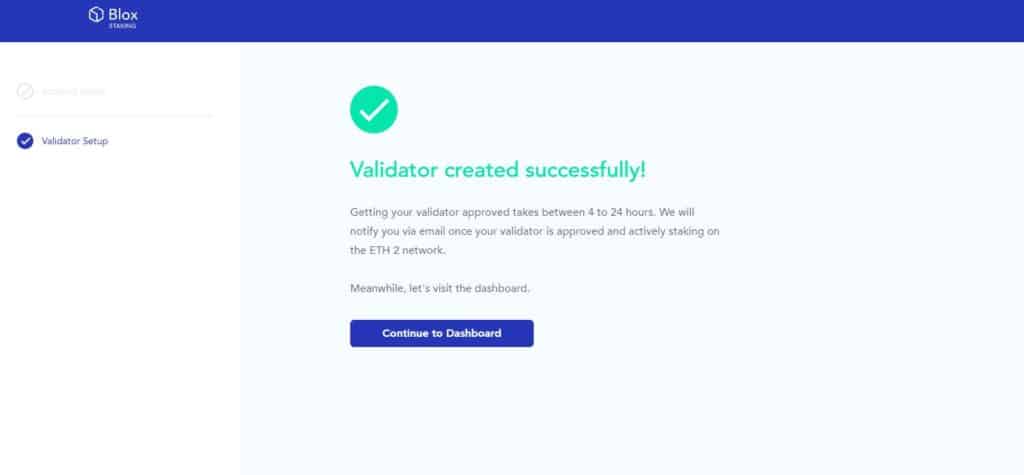
Once the transaction is confirmed, you’ll be redirected back to the Bloxstaking app.
One simple step to take here – ‘Continue to Dashboard’.
Congrats! You’ve now successfully imported and deposited to Bloxstaking without having to use your seed.
